
[Part 1]
I have been using 3D printing for awhile. Started on an Ender 3, and just recently purchased a Bambu Labs P1S, and no shame to the Ender 3, but this is what I imagined 3D printing would be. The Ender 3 was a great printer for learning about 3D printing, but if you pick one up today, expect 3D printing to become the hobby. If you just want to use 3D printed parts in your hobby, you’ll want a reliable, working out of the box printer, which the Bambu P1S has proven to be.
The only thing that would make it better would be if I never had to touch the printer, just start a queue and have it manage all the prints itself.
how can a (FDM) 3D print be removed automatically?
So I began to research this and experiment in the simplest and cheapest sense.
There are several ways that people in the 3D printing community have done to remove prints automatically (regarding FDM printing). The first way, being the cheapest, is using the 3D print head itself, and some custom g-code, to knock the print off the build plate. This is great and all, but I don’t want to be damaging my tool head, or knocking it out of operating specs sooner than expected.
Another popular way is to use a belt for the print bed. When the prints finish, the belt can roll and the print will peel off. The major problem with this is that belt print beds are unreliable, and the print head must be at a 45 degree angle. This makes bed plate adhesion harder. There are benefits though, as you can make prints, theoretically, as long as you want in one axis.

I wanted something simpler than a belt though. Plus, I wanted to use any printer I had with this print remover. Since the Bambu printers have magnetic beds, my first thought was perhaps I could build something to remove and swap the build plates. Only problem is then I would need multiple build plates, and still need to get the print off the build plate that I removed afterward.
What I decided to try, was just waiting for the print to cool and come loose. In my time using this P1S printer, the PLA and ABS prints tend to be completely free from the bed just from thermal contraction from the cooling.
So the plan was to remove the prints from the printer after I am sure the bed is at a temperature that reliably releases the prints. I did some experimentation and found that the prints were usually loose by the time the print bed cooled to around 22 degrees Celsius on the PEI texture bed for PLA, and 40 degrees for ABS.
print tool removal design
Since I got the Bambu printer, the Ender 3 has just been sitting around. I think it’s time to put it to use again…
I decided to build a mechanism to pull the prints off the build plate. The mechanism would ride on a vertical gantry system on a shelf so that it could move into position for multiple printers. I debated designing something to clear the bed that was simple that could be added to the printer, but then I would have to build one for every printer that I would want to add to the farm.

The design is pretty simple, as I tried to make this with parts I had on hand.
the mechanical side (and electrical)
The part that goes into the printer is a rectangle of 2020 aluminum extrusion riding the v-groove wheels that came from the Ender’s X axis. The mechanism moves by a lead screw setup, where the lead screw nut is being driven by the stepper motor, moving the rectangle back and forth. The reason for the inverse lead screw setup is that I wanted the physical part that would be entering the 3D printer to be as light and small as I could manage. This would allow the mechanism to go up and over prints to pull from behind.
There is also a limit switch underneath for homing the axis. This setup allows me to use the old Marlin control board the Ender came with to control this print remover. To control the Ender board over the network, I attached a Raspberry Pi running an OctoPrint (https://octoprint.org/) server so I could upload, run, and monitor the gcode of the printer removers gantry system. This also allowed for an easy camera feed setup over the network.
the software side
The most important part of this project relied on whether or not I would be able to automatically control the Bambu printer. I figured if I wasn’t able to find any projects that would work, I would write some software that would automatically interact with Bambu Studio with keyboard shortcuts and automated mouse clicks.
At first, I did not find anything that could control the printer so I did make a quick script that would use a combination of keyboard shortcuts, mouse clicks, and searching to run Bambu Studio. It did actually work… sorta. To be honest, it was terrible. Which is why I was lucky to come across this project: https://pypi.org/project/bambu-connect/.
This Python library really made this project start to feel like it would work. I wrote some code with a friend to get a print to automatically upload and start utilizing this python library. In the python script as well, it was monitoring the status of the print bed. Since I decided that I would be using thermal contraction to remove the prints, the script would monitor the temperature of the bed when a print finishes. When the bed reaches a set temperature, the script triggers a print to run g-code on the OctoPrint server to remove it. It then starts the next print.
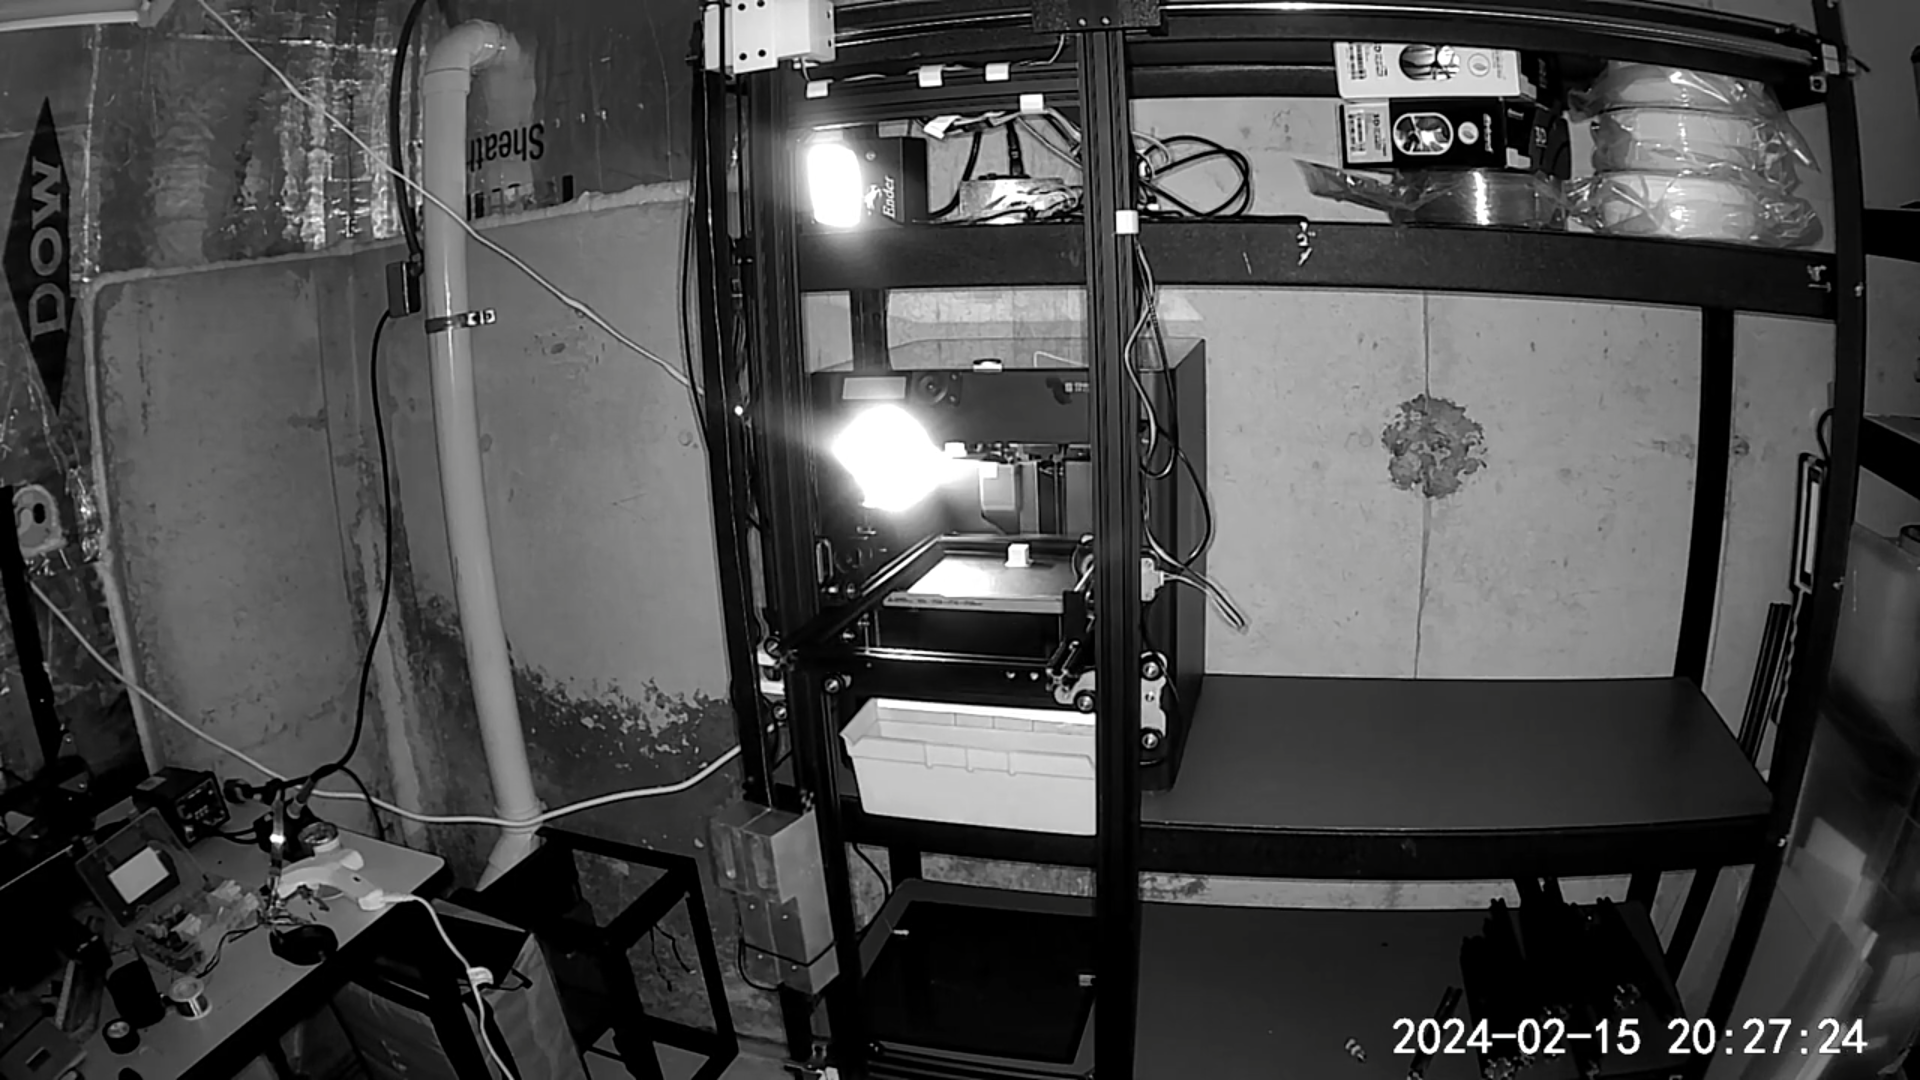
the first working test
next steps
The reincarnated Ender 3 definitely did the job, but there is definitely a lot of improvement. I plan to redesign this since this concept seems to work. The only downside seems to be the time it takes for the bed to cool to release the print, but perhaps… more fans?
Reply