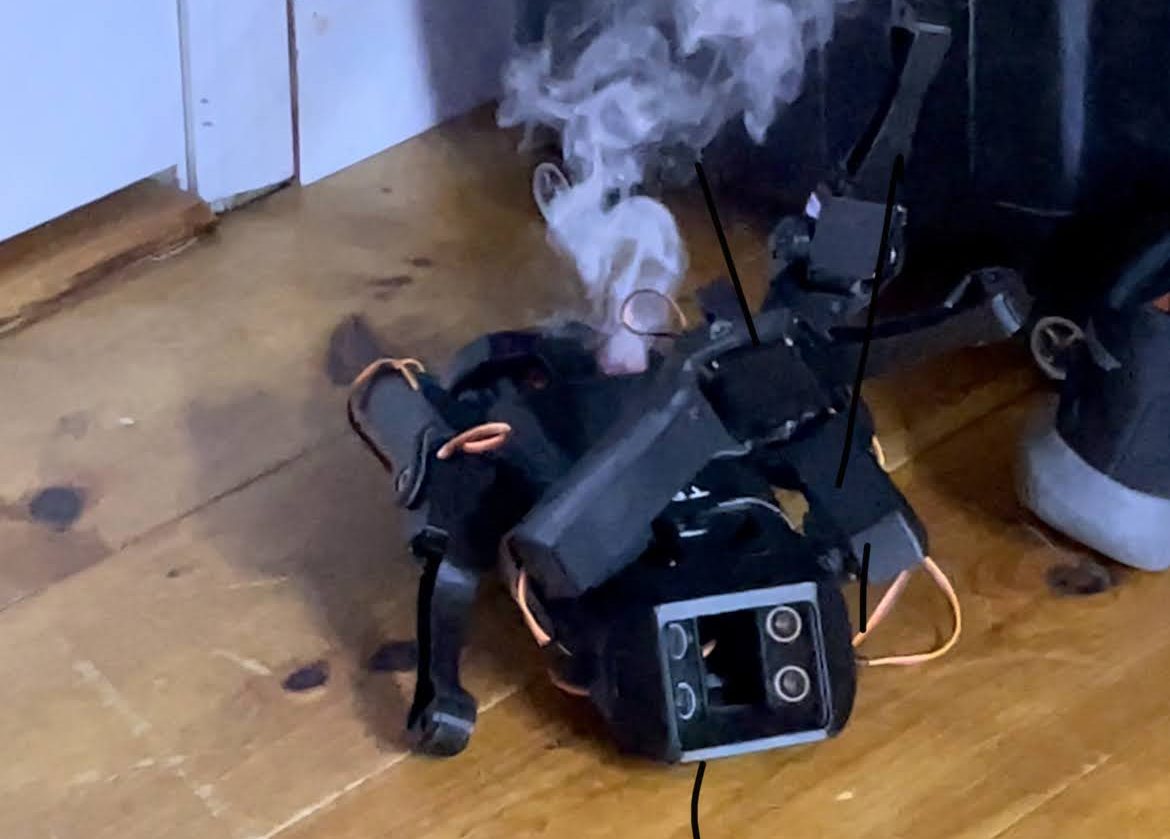
So, I have always been fascinated by what robotics are capable of today and want to be a part of what they can be capable of in the future. But where do I begin?
I have past experience with 3D printing and programming, so I figured I could probably find an open-source robotics project to get an idea of the work to 3D print, build, and program a small robot.
The project I decided to make was an open-source, pretty well maintained project called SpotMicro. This project is a recreation of the pretty widely renowned Spot from Boston Dynamics.

If you are curious about it yourself, most of the information I found was here:
https://spotmicroai.readthedocs.io/en/latest/
The files for 3D printing and wiring I found here:
https://gitlab.com/custom_robots/spotmicroai
I began by making a list of the parts I would need for this. Luckily, I already had many of the parts for this robot from older projects at college. The following are the parts I used (or will be using):
- NVIDIA Jetson Nano 2GB
- PWM Servo Controller
- 12 x MG996R Servos
- Power Switch
- Segment Display
- Ultrasonic Sensors
- IMU
- Raspberry Pi Camera
- 20V Buck Converter
- 5V Buck Converter
I then began to 3D print all the parts from the gitlab repository. The exact ones I used are here: https://gitlab.com/custom_robots/spotmicroai/3dprinting/-/tree/master/Basic%203d%20parts%20by%20Brad%20Prince/v1.02
For 3D printing, I am using an Ender 3 and an Ender 3 Max. I’ll just be using PLA for filament, but if you wanted extra strength, you could use PETG or ABS.

After gathering all the necessary parts and 3D printing the required components, the next step was to assemble the robot. The SpotMicro project has a detailed step-by-step guide that includes all the necessary instructions to put together the robot. I followed the guide closely and started by assembling the leg mechanisms.
The leg mechanisms consist of several 3D-printed parts that house the servos, which are controlled by the PWM servo controller. I then connected the legs to the body, which houses the NVIDIA Jetson Nano 2GB, the power switch, the segment display, and the ultrasonic sensors.
The NVIDIA Jetson Nano 2GB is a powerful computer that serves as the brain of the robot. It runs the software that controls the servos and the sensors, allowing the robot to walk and interact with its environment. The power switch is used to turn the robot on and off, while the segment display shows useful information about the robot’s status.
The ultrasonic sensors provide the robot with distance information, which it uses to navigate and avoid obstacles. The IMU, or Inertial Measurement Unit, is a sensor that measures the robot’s orientation and acceleration, allowing it to balance and move smoothly.
To complete the robot, I added the Raspberry Pi camera, which provides a first-person view of the robot’s surroundings. I also used a 20V buck converter and a 5V buck converter to provide power to the servos and the other components.
Once the robot was assembled, the next step was to program it. The SpotMicro project provides a software package that includes all the necessary code to control the robot.
https://gitlab.com/custom_robots/spotmicroai
Repository for the SpotMicro ROS package.


Reply